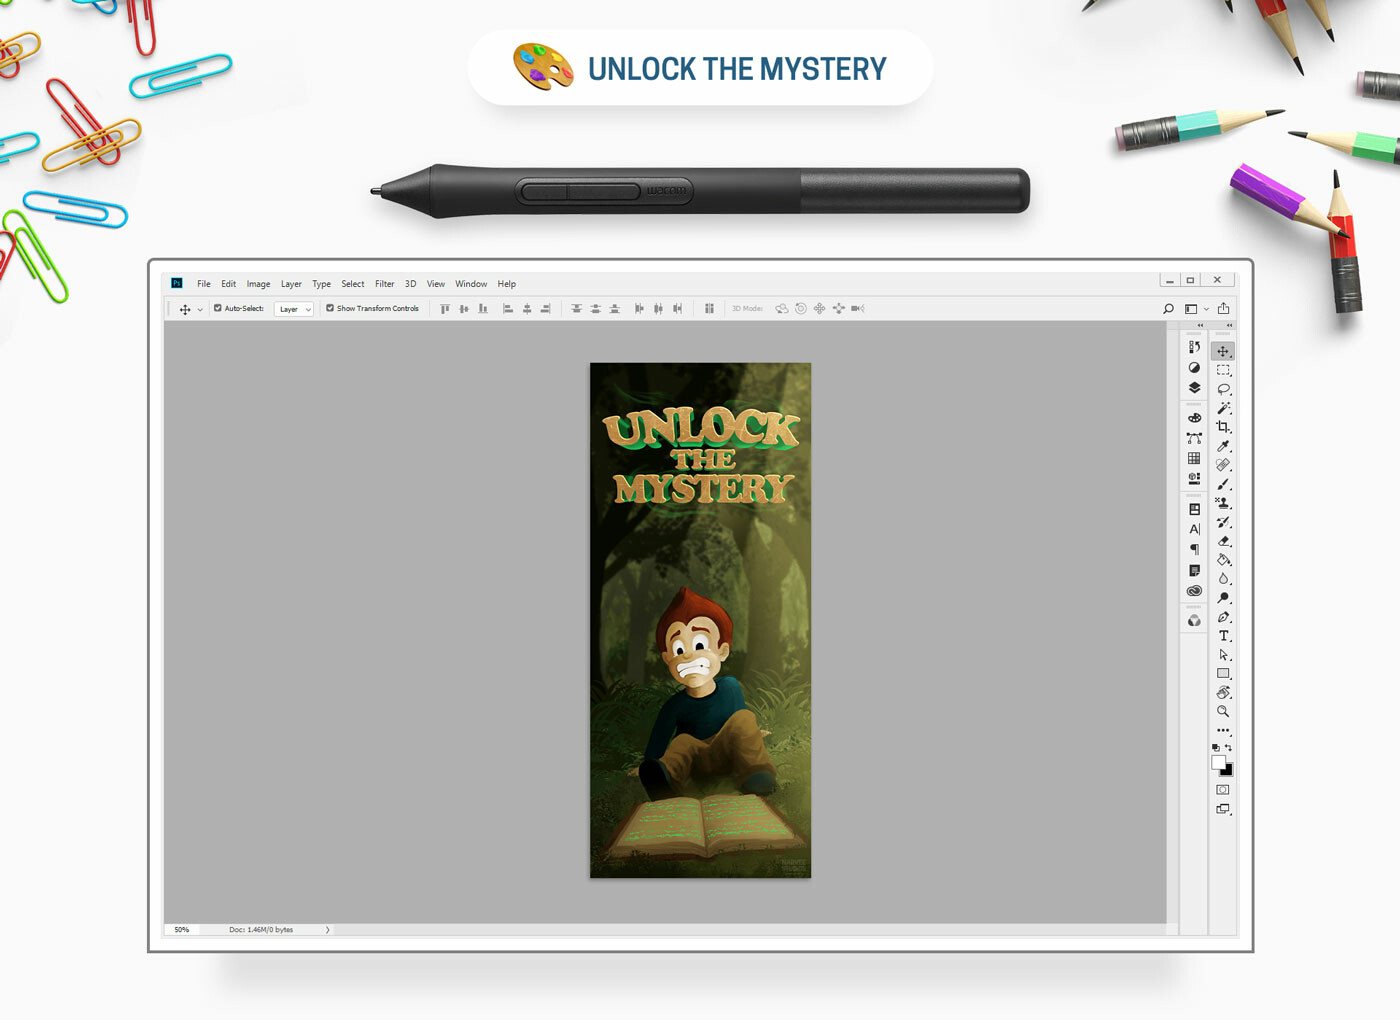
Unlock the Mystery
A key, a whisper, a door that shouldn’t be open.
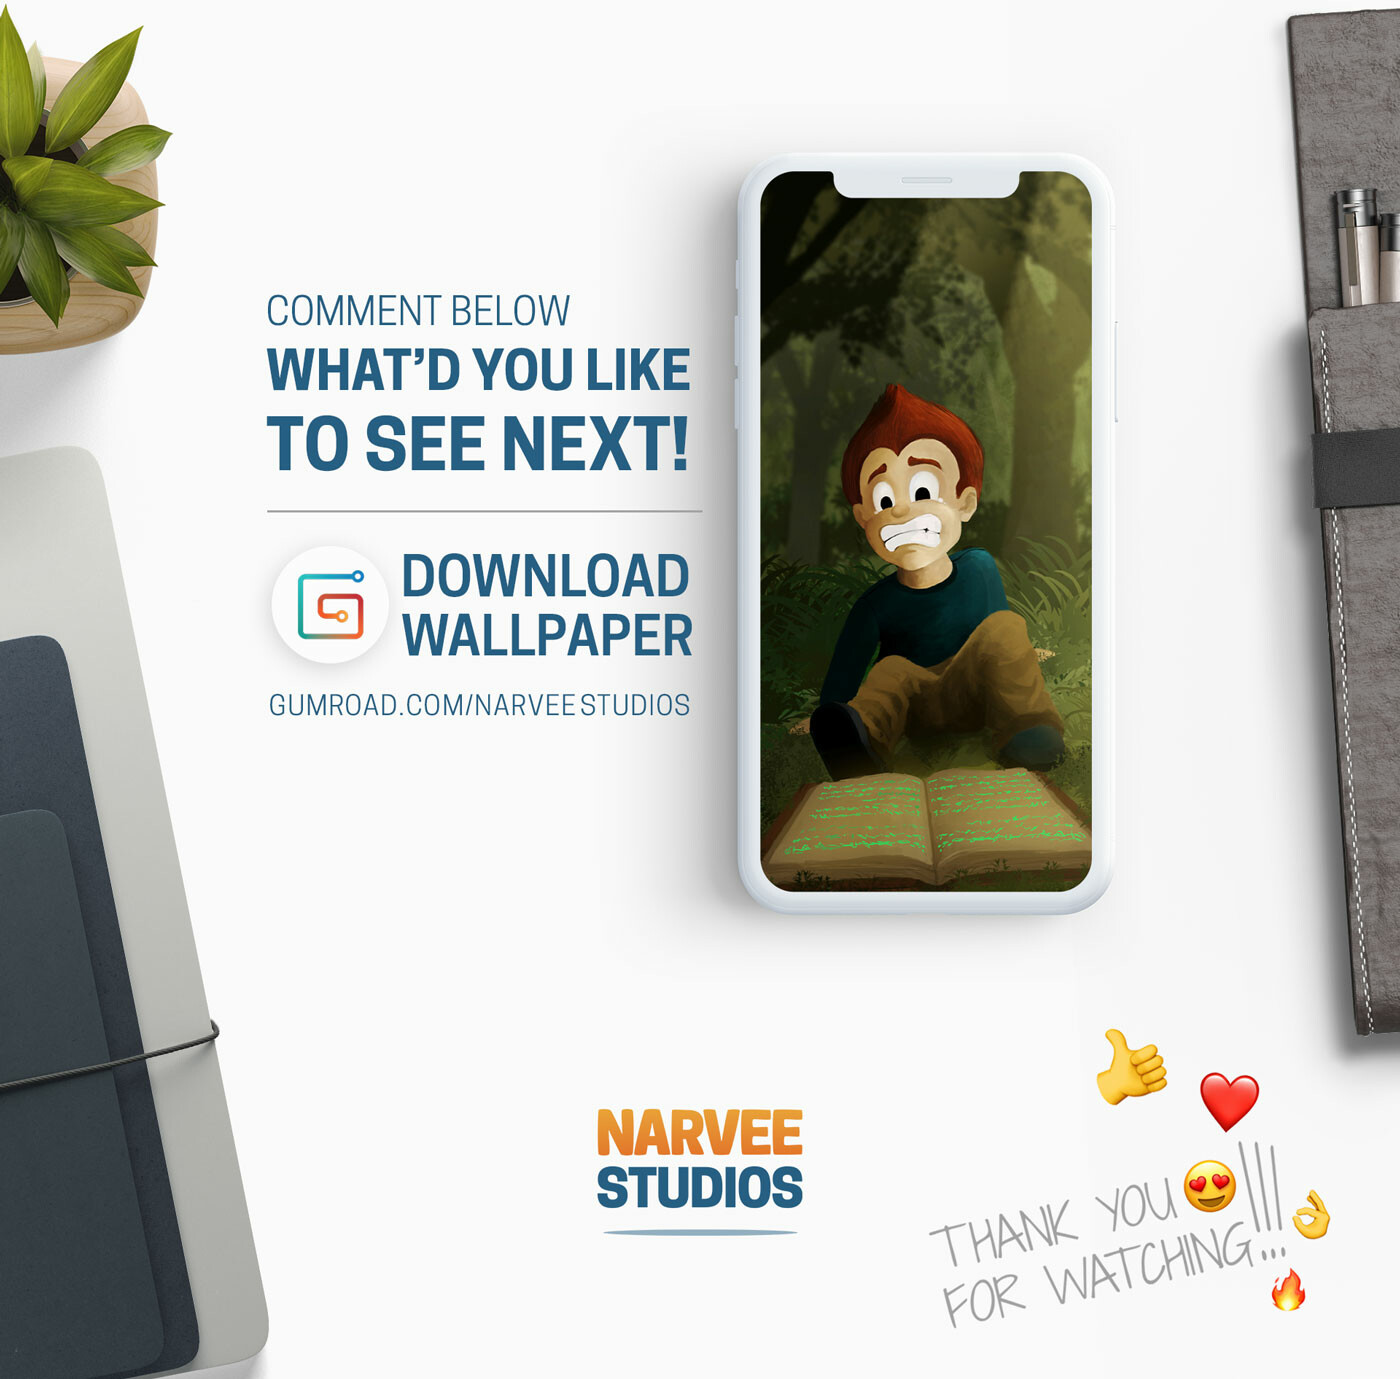
This character was inspired by an assignment I had back in college. The assignment was to design a bookmark that reflected your favorite book, movie, or TV show. I started sketching a kid discovering a book in the forest. This book was not just a normal book but a mysterious one. I decided to name the project "Unlock the Mystery."
IllustrationConceptMood
- Series
- Concept
- Year
- 2019
- Format
- Phone wallpaper